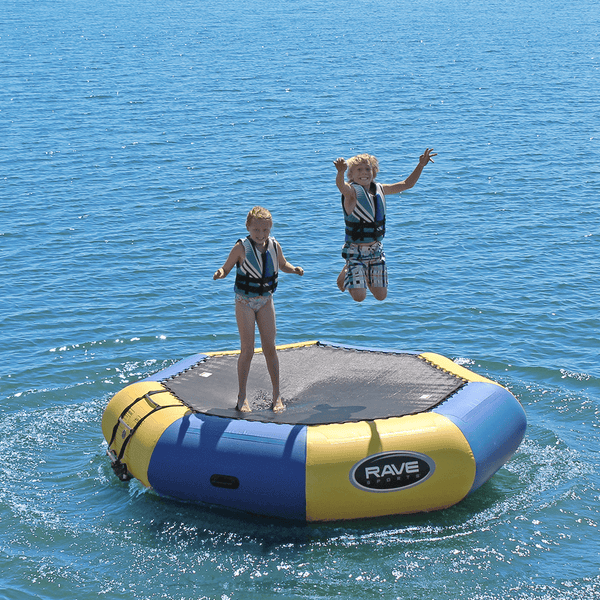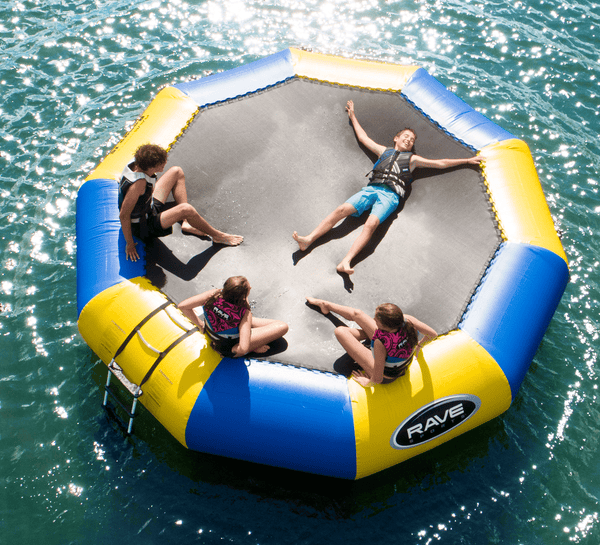
How to Install a New Bongo Bouncer Surface in 10 Easy Steps!
How to Replace a Bongo Bouncer Surface in 10 Easy Steps!
Sometimes after a lot of heavy wear and tear, our customers find it necessary to replace the jump surface of their Bongo Bouncers. Replacement surfaces are available for sale at ravesports.com --- once you’ve got the replacement surface and the lacing rope (included), it’s a simple process that can be done in these ten easy steps. You will also need a tool to act as a “needle” for the lacing rope such as a ¼” rope splicing fid (purchased at your local hardware or marine store), an empty ball point pen tip, or anything hollow and pointed at the end that the rope will thread through.
1. LAY FLAT: Lay the deflated Bongo Bouncer tube face up and spread it out as much as possible in a uniform circular shape.
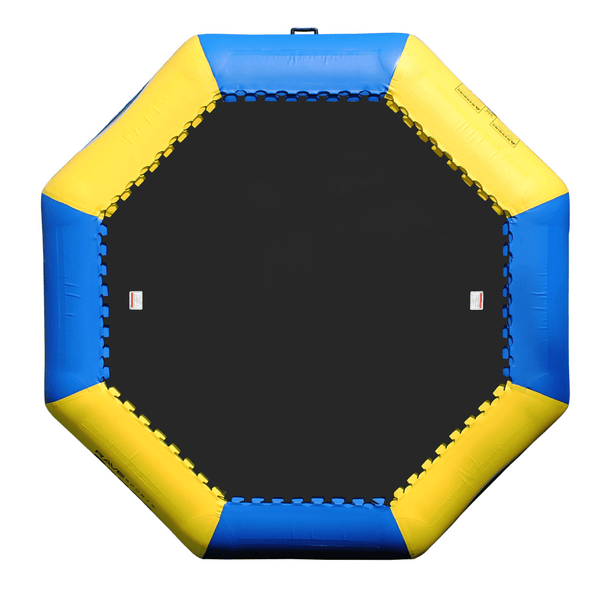
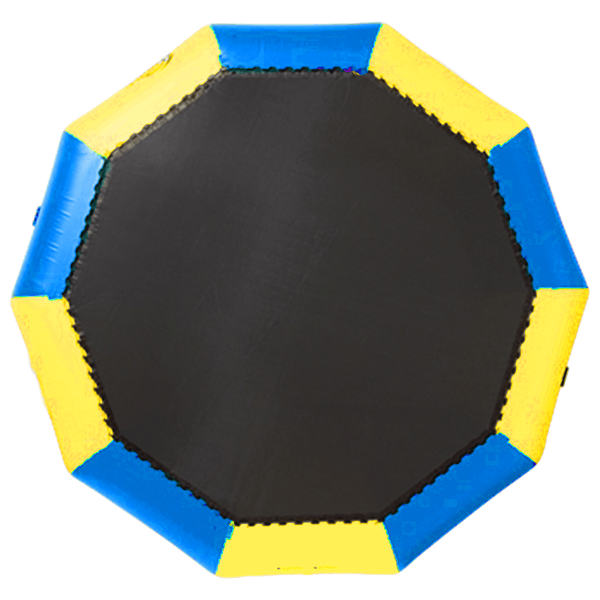
2. POSITION NEW SURFACE: Place the new surface over the center of the Bongo Bouncer tube, aligning the warning labels so that one label is centered on the tube panel where you typically attach the ladder.
3. PREPARE LACING ROPE: Note that the rope should have three marks on it, one at the center and one about 12’ from each end. These marks will be useful as you thread the lacing rope. It is also helpful to have a tool to guide the lacing through the loops (as described above). Insert whatever tool you are using over the end of the rope. If necessary, heat the end of the lacing rope with a match or lighter to melt it to a point for easy insertion into the fid or empty pen tip.
4. MARK CENTER: Starting at any corner of the surface, position the rope center mark immediately to the left of the corner loop on the bouncer surface. Use a spring clamp to secure the rope or have a helper hold the rope in place to prevent this mark from moving while lacing.
5. LACE ONE SIDE: Use the fid or pen tip to lace the rope to the left of the center mark. Continue lacing through each loop, alternating between the colored tube fabric and the black webbing loops of the Bongo Bouncer surface. Lace this half of the rope around until you reach the exact opposite spot on the Bongo Bouncer tube. The end mark on the rope should be at a corner exactly opposite the starting point.
NOTE: Be extremely careful when pulling the rope through the loops. Only pull the rope through 2 -3 loops at a time, guiding the rope with both hands so it glides freely. Stop to adjust the position of the loops and rope if there is any resistance while pulling. Friction between the rope and loops can cause permanent damage to the product.
6. LACE THE OTHER SIDE: Put the fid / pen tip onto the other end of the lacing rope and lace the other half of the surface to the right of the center mark. Periodically stop to inspect that you did not miss any loops while lacing.
7. TIE THE KNOT: When you’ve finished lacing both ends and the ends are now meeting at the opposite corner from your center starting corner, place the two ends next to each other with the knot marks aligned. Hold both rope ends together and tie a knot immediately outside of the knot marks. The marks on the left and right side should be touching right below the knot. When tied properly, the marks will be located between the knot and the tube.
8. ADJUST IF NEEDED: During lacing, make sure not to pull the rope too tightly as you go along. Pull it tight enough to that the rope lies naturally straight from loop to loop. If, after you have tied the knot, there is a lot of excess rope, pull on each panel to pull out the slack in the rope and adjust the lacing to make it as uniform as possible around the entire surface. Make sure that the loop is pulled snug against the webbing loop, but not the colored fabric of the Bongo Bouncer tube, so to not cause any extra stress on the fabric.
9. TUCK IN THE TAIL: After adjusting and ensuring the lacing is smooth all around the surface, tuck the tail end of the rope to the inside of the tube below the jump surface.
10. INFLATE AND INSPECT: After inflating the Bongo Bouncer tube, inspect the lacing again to ensure that the rope is coming out of each loop at a very shallow angle. If the angle is too sharp, it could cause premature tearing of the loops on the Bongo Bouncer tube. Deflate and adjust the lacing rope if necessary to achieve uniformity around the surface.